> ## Documentation Index
> Fetch the complete documentation index at: https://base-a060aa97-eb-mini-app-ia-overhaul.mintlify.site/llms.txt
> Use this file to discover all available pages before exploring further.
# Build an App
> A guide to building a next.js app on Base using OnchainKit
Welcome to the Base quickstart guide! In this walkthrough, we'll create a simple onchain app from start to finish. Whether you're a seasoned developer or just starting out, this guide has got you covered.
## What You'll Achieve
By the end of this quickstart, you'll have built an onchain app by:
* Configuring your development environment
* Deploying your smart contracts to Base
* Interacting with your deployed contracts from the frontend
Our simple app will be an onchain tally app which lets you add to a total tally, stored onchain, by pressing a button.
**Why Base?**
Base is a fast, low-cost, builder-friendly Ethereum L2 built to bring the next billion users onchain. By following this guide, you'll join a vibrant ecosystem of developers, creators, and innovators who are building a global onchain economy.
## Set Up Your Development Environment
OnchainKit is a library of ready-to-use React components and Typescript utilities for building onchain apps. Run the following command in your terminal and follow the prompts to bootstrap your project.
```bash Terminal
npm create onchain@latest
```
The prompots will ask you for a CDP API Key which you can get [here](https://portal.cdp.coinbase.com/projects/api-keys/client-key).
Once you've gone through the prompts, you'll have a new project directory with a basic OnchainKit app. Run the following to see it live.
```bash Terminal
cd my-onchainkit-app
npm install
npm run dev
```
You should see the following screen.
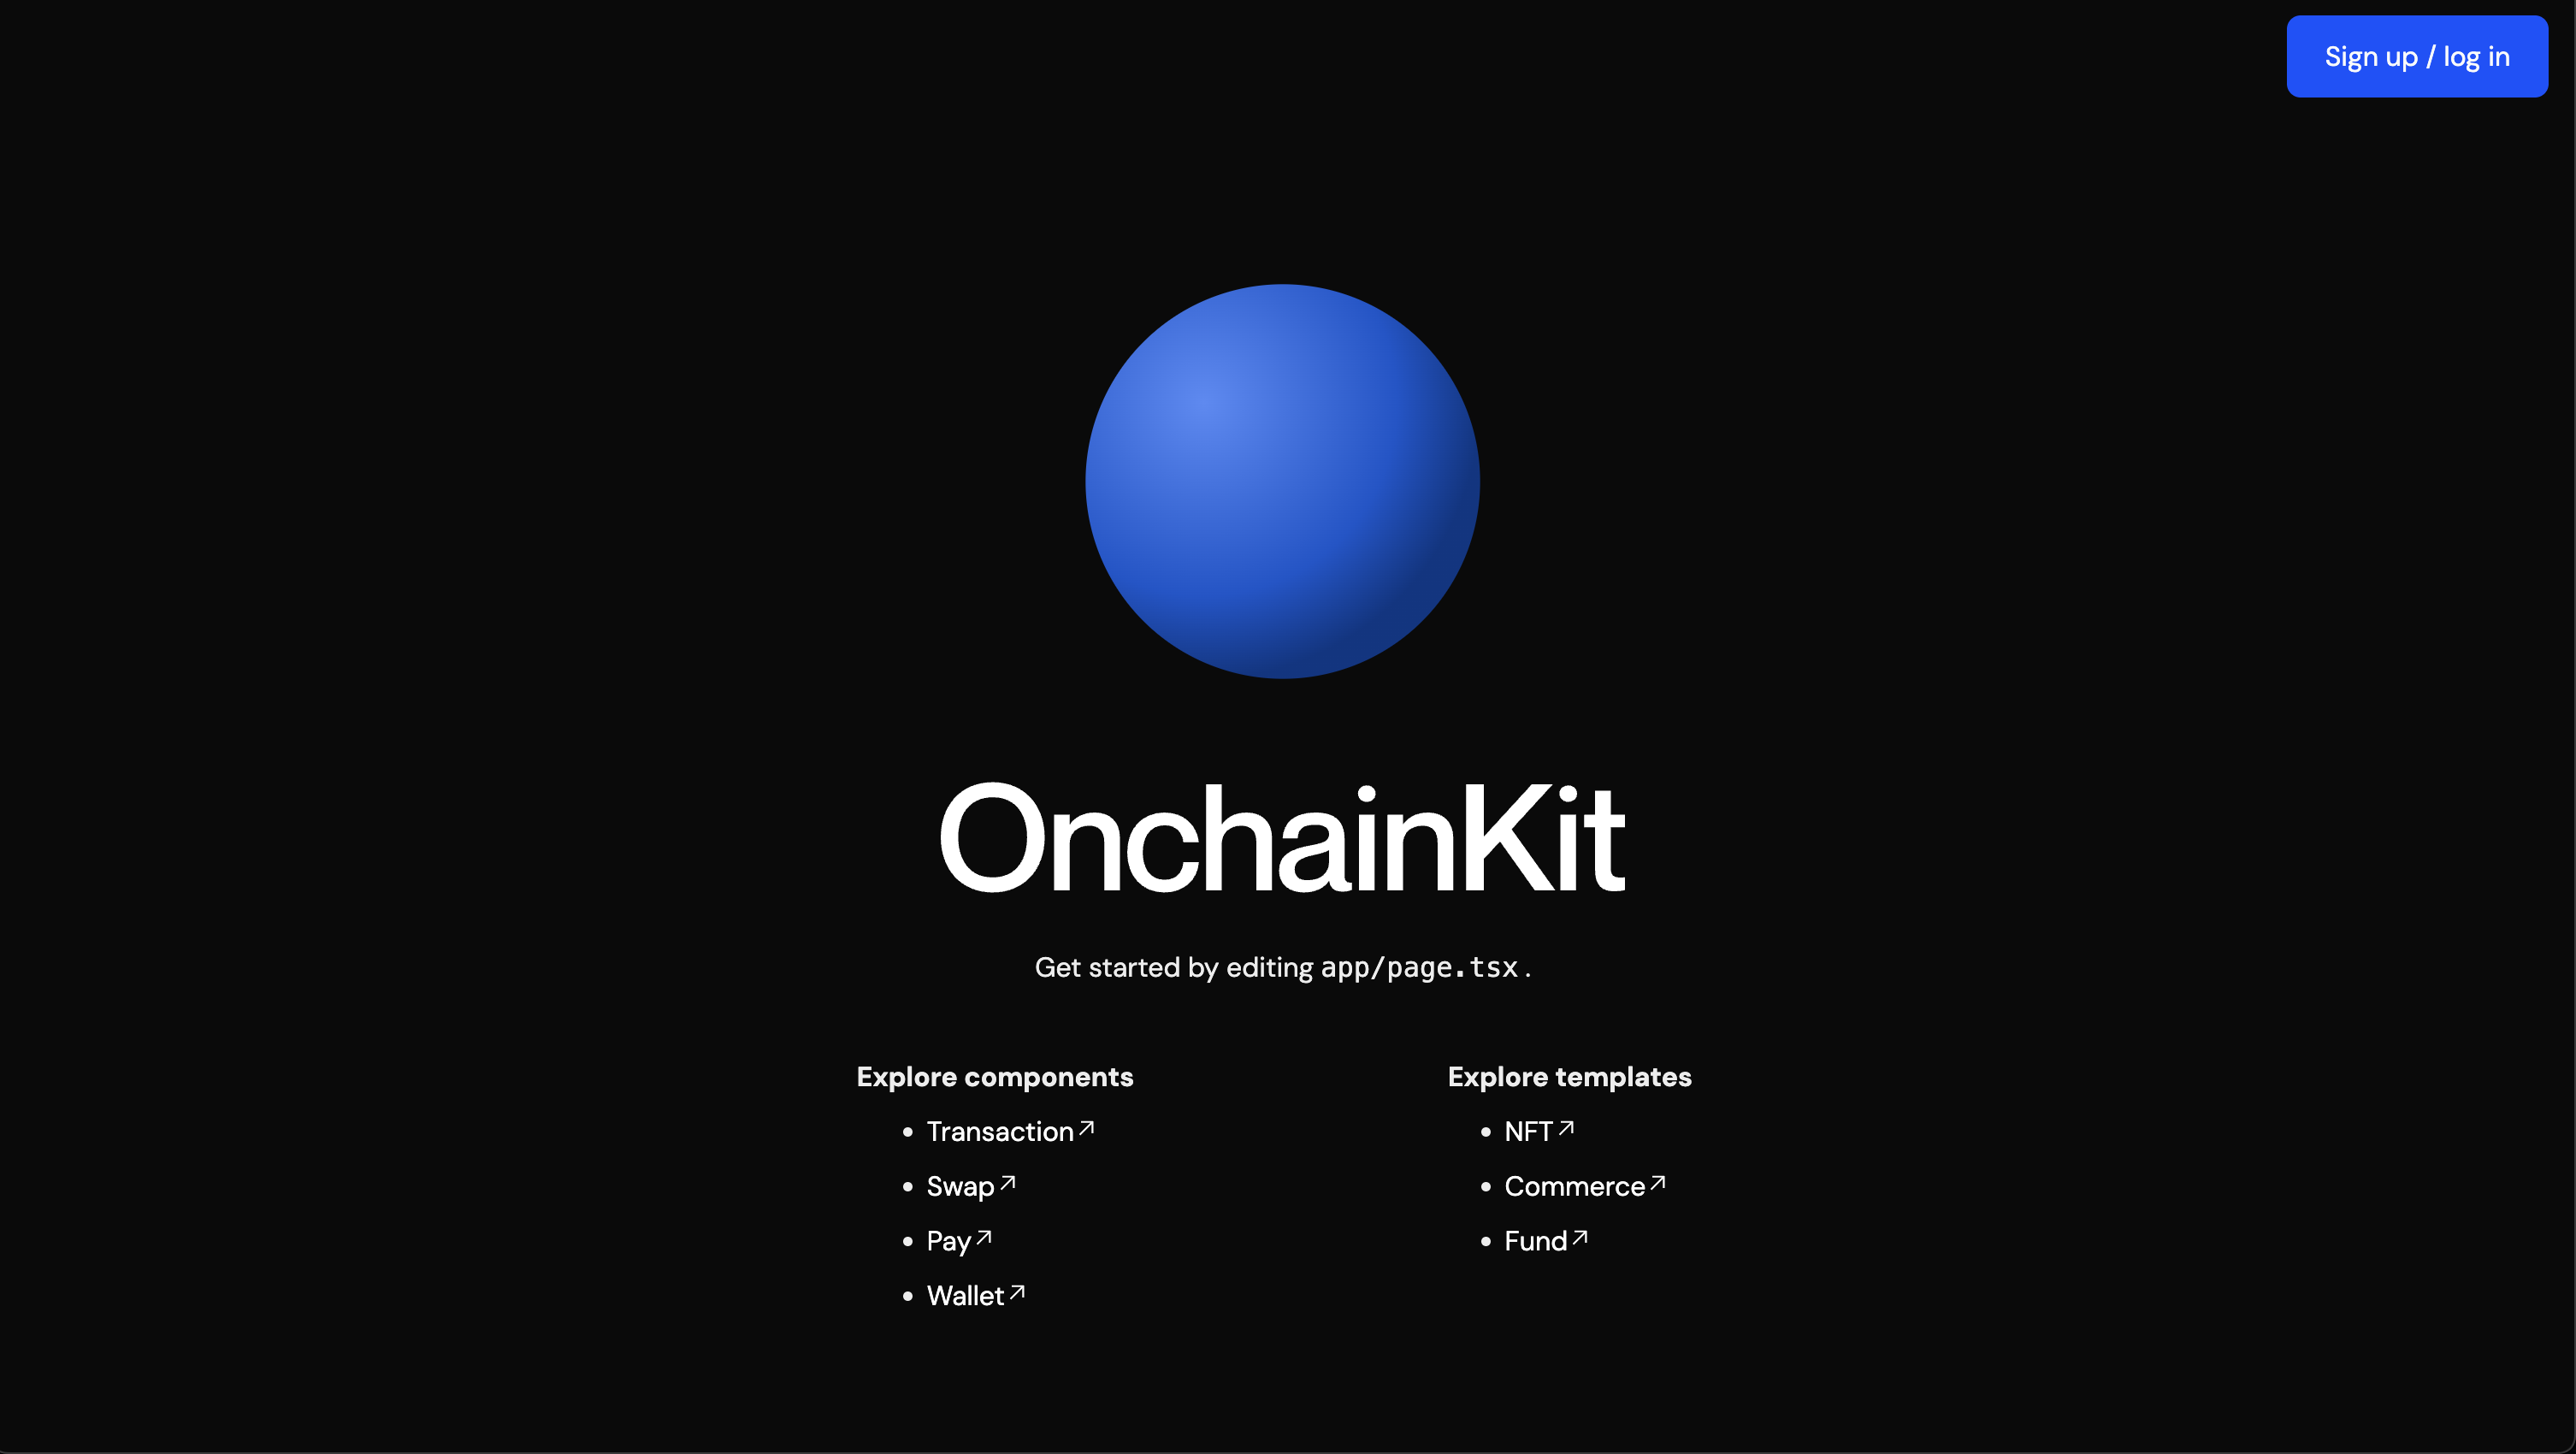 Once we've deployed our contracts, we'll add a button that lets us interact with our contracts.
The total tally will be stored onchain in a smart contract. We'll use the Foundry framework to deploy our contract to the Base Sepolia testnet.
1. Create a new "contracts" folder in the root of your project
```bash Terminal
mkdir contracts && cd contracts
```
2. Install and initialize Foundry
```bash Terminal
curl -L https://foundry.paradigm.xyz | bash
foundryup
forge init --no-git
```
Open the project and find the `Counter.sol` contract file in the `/contracts/src` folder. You'll find the simple logic for our tally app.
**--no-git**
Because `contracts` is a folder in our project, we don't want to initialize a separate git repository for it, so we add the `--no-git` flag.
To deploy your smart contracts to Base, you need two key components:
1. A node connection to interact with the Base network
2. A funded private key to deploy the contract
Let's set up both of these:
* Create a `.env` file in your `contracts` directory and add the Base and Base Sepolia RPC URLs
```bash contracts/.env
BASE_RPC_URL="https://mainnet.base.org"
BASE_SEPOLIA_RPC_URL="https://sepolia.base.org"
```
-Load your environment variables
```bash Terminal
source .env
```
**Base Sepolia**
Base Sepolia is the test network for Base, which we will use for the rest of this guide. You can obtain free Base Sepolia ETH from one of the [faucets listed here](/base-chain/tools/network-faucets).
A private key with testnet funds is required to deploy the contract. You can generate a fresh private key [here](https://visualkey.link/).
1. Store your private key in Foundry's secure keystore
```bash Terminal
cast wallet import deployer --interactive
```
2. When prompted enter your private key and a password.
Your private key is stored in `~/.foundry/keystores` which is not tracked by git.
Never share or commit your private key. Always keep it secure and handle with care.
## Deploy Your Contracts
Now that your environment is set up, let's deploy your contracts to Base Sepolia. The foundry project provides a deploy script that will deploy the Counter.sol contract.
1. Use the following command to compile and deploy your contract
```bash Terminal
forge create ./src/Counter.sol:Counter --rpc-url $BASE_SEPOLIA_RPC_URL --account deployer
```
Note the format of the contract being deployed is `:`.
After successful deployment, the transaction hash will be printed to the console output
Copy the deployed contract address and add it to your `.env` file
```bash
COUNTER_CONTRACT_ADDRESS="0x..."
```
```bash Terminal
source .env
```
To ensure your contract was deployed successfully:
1. Check the transaction on [Sepolia Basescan](https://sepolia.basescan.org/).
2. Use the `cast` command to interact with your deployed contract from the command line
```bash
cast call $COUNTER_CONTRACT_ADDRESS "number()(uint256)" --rpc-url $BASE_SEPOLIA_RPC_URL
```
This will return the initial value of the Counter contract's `number` storage variable, which will be `0`.
**Congratulations! You've deployed your smart contract to Base Sepolia!**
Now lets connect the frontend to interact with your recently deployed contract.
## Interacting with your contract
To interact with the smart contract logic, we need to submit an onchain transaction. We can do this easily with the `Transaction` component. This is a simplified version of the `Transaction` component, designed to streamline the integration process. Instead of manually defining each subcomponent and prop, we can use this shorthand version which renders our suggested implementation of the component and includes the `TransactionButton` and `TransactionToast` components.
Lets add the `Transaction` component to our `page.tsx` file. Delete the existing content in the `main` tag and replace it with the snippet below.
```tsx page.tsx
// @noErrors: 2307 - Cannot find module '@/calls'
import { Transaction } from '@coinbase/onchainkit/transaction';
import { calls } from '@/calls';
;
```
In the previous code snippet, you'll see we imported `calls` from the `calls.ts` file. This file provides the details needed to interact with our contract and call the `increment` function. Create a new `calls.ts` file in the same folder as your `page.tsx` file and add the following code.
```ts calls.ts
const counterContractAddress = '0x...'; // add your contract address here
const counterContractAbi = [
{
type: 'function',
name: 'increment',
inputs: [],
outputs: [],
stateMutability: 'nonpayable',
},
] as const;
export const calls = [
{
address: counterContractAddress,
abi: counterContractAbi,
functionName: 'increment',
args: [],
},
];
```
**Contract Address**
The `calls.ts` file contains the details of the contract interaction, including the contract address, which we saved in the previous step.
Now, when you connect a wallet and click on the `Transact` button and approve the transaction, it will increment the tally onchain by one.
We can verify that the onchain count took place onchain by once again using `cast` to call the `number` function on our contract.
```bash Terminal
cast call $COUNTER_CONTRACT_ADDRESS "number()(uint256)" --rpc-url $BASE_SEPOLIA_RPC_URL
```
If the transaction was successful, the tally should have incremented by one!
We now have a working onchain tally app! While the example is simple, it illustrates the end to end process of building on onchain app. We:
* Configured a project with frontend and onchain infrastructure
* Deployed a smart contract to Base Sepolia
* Interacted with the contract from the frontend
## Further Improvements
This is just the beginning. There are many ways we can improve upon this app. For example, we could:
* Make the `increment` transaction gasless by integrating with [Paymaster](/onchainkit/transaction/transaction#sponsor-with-paymaster-capabilities)
* Improve the wallet connection and sign up flow with the [WalletModal](/onchainkit/wallet/wallet-modal) component
* Add onchain [Identity](/onchainkit/identity/identity) so we know who added the most recent tally
Once we've deployed our contracts, we'll add a button that lets us interact with our contracts.
The total tally will be stored onchain in a smart contract. We'll use the Foundry framework to deploy our contract to the Base Sepolia testnet.
1. Create a new "contracts" folder in the root of your project
```bash Terminal
mkdir contracts && cd contracts
```
2. Install and initialize Foundry
```bash Terminal
curl -L https://foundry.paradigm.xyz | bash
foundryup
forge init --no-git
```
Open the project and find the `Counter.sol` contract file in the `/contracts/src` folder. You'll find the simple logic for our tally app.
**--no-git**
Because `contracts` is a folder in our project, we don't want to initialize a separate git repository for it, so we add the `--no-git` flag.
To deploy your smart contracts to Base, you need two key components:
1. A node connection to interact with the Base network
2. A funded private key to deploy the contract
Let's set up both of these:
* Create a `.env` file in your `contracts` directory and add the Base and Base Sepolia RPC URLs
```bash contracts/.env
BASE_RPC_URL="https://mainnet.base.org"
BASE_SEPOLIA_RPC_URL="https://sepolia.base.org"
```
-Load your environment variables
```bash Terminal
source .env
```
**Base Sepolia**
Base Sepolia is the test network for Base, which we will use for the rest of this guide. You can obtain free Base Sepolia ETH from one of the [faucets listed here](/base-chain/tools/network-faucets).
A private key with testnet funds is required to deploy the contract. You can generate a fresh private key [here](https://visualkey.link/).
1. Store your private key in Foundry's secure keystore
```bash Terminal
cast wallet import deployer --interactive
```
2. When prompted enter your private key and a password.
Your private key is stored in `~/.foundry/keystores` which is not tracked by git.
Never share or commit your private key. Always keep it secure and handle with care.
## Deploy Your Contracts
Now that your environment is set up, let's deploy your contracts to Base Sepolia. The foundry project provides a deploy script that will deploy the Counter.sol contract.
1. Use the following command to compile and deploy your contract
```bash Terminal
forge create ./src/Counter.sol:Counter --rpc-url $BASE_SEPOLIA_RPC_URL --account deployer
```
Note the format of the contract being deployed is `:`.
After successful deployment, the transaction hash will be printed to the console output
Copy the deployed contract address and add it to your `.env` file
```bash
COUNTER_CONTRACT_ADDRESS="0x..."
```
```bash Terminal
source .env
```
To ensure your contract was deployed successfully:
1. Check the transaction on [Sepolia Basescan](https://sepolia.basescan.org/).
2. Use the `cast` command to interact with your deployed contract from the command line
```bash
cast call $COUNTER_CONTRACT_ADDRESS "number()(uint256)" --rpc-url $BASE_SEPOLIA_RPC_URL
```
This will return the initial value of the Counter contract's `number` storage variable, which will be `0`.
**Congratulations! You've deployed your smart contract to Base Sepolia!**
Now lets connect the frontend to interact with your recently deployed contract.
## Interacting with your contract
To interact with the smart contract logic, we need to submit an onchain transaction. We can do this easily with the `Transaction` component. This is a simplified version of the `Transaction` component, designed to streamline the integration process. Instead of manually defining each subcomponent and prop, we can use this shorthand version which renders our suggested implementation of the component and includes the `TransactionButton` and `TransactionToast` components.
Lets add the `Transaction` component to our `page.tsx` file. Delete the existing content in the `main` tag and replace it with the snippet below.
```tsx page.tsx
// @noErrors: 2307 - Cannot find module '@/calls'
import { Transaction } from '@coinbase/onchainkit/transaction';
import { calls } from '@/calls';
;
```
In the previous code snippet, you'll see we imported `calls` from the `calls.ts` file. This file provides the details needed to interact with our contract and call the `increment` function. Create a new `calls.ts` file in the same folder as your `page.tsx` file and add the following code.
```ts calls.ts
const counterContractAddress = '0x...'; // add your contract address here
const counterContractAbi = [
{
type: 'function',
name: 'increment',
inputs: [],
outputs: [],
stateMutability: 'nonpayable',
},
] as const;
export const calls = [
{
address: counterContractAddress,
abi: counterContractAbi,
functionName: 'increment',
args: [],
},
];
```
**Contract Address**
The `calls.ts` file contains the details of the contract interaction, including the contract address, which we saved in the previous step.
Now, when you connect a wallet and click on the `Transact` button and approve the transaction, it will increment the tally onchain by one.
We can verify that the onchain count took place onchain by once again using `cast` to call the `number` function on our contract.
```bash Terminal
cast call $COUNTER_CONTRACT_ADDRESS "number()(uint256)" --rpc-url $BASE_SEPOLIA_RPC_URL
```
If the transaction was successful, the tally should have incremented by one!
We now have a working onchain tally app! While the example is simple, it illustrates the end to end process of building on onchain app. We:
* Configured a project with frontend and onchain infrastructure
* Deployed a smart contract to Base Sepolia
* Interacted with the contract from the frontend
## Further Improvements
This is just the beginning. There are many ways we can improve upon this app. For example, we could:
* Make the `increment` transaction gasless by integrating with [Paymaster](/onchainkit/transaction/transaction#sponsor-with-paymaster-capabilities)
* Improve the wallet connection and sign up flow with the [WalletModal](/onchainkit/wallet/wallet-modal) component
* Add onchain [Identity](/onchainkit/identity/identity) so we know who added the most recent tally