

What You’ll Build
By the end of this guide, you’ll have a fully functional checkout flow that:- Displays your product with an attractive interface
- Connects users’ wallets securely
- Processes crypto payments through Coinbase Commerce
- Provides real-time payment status updates
Eliminate Fees
Remove traditional credit card processing fees and chargebacks
Global Reach
Accept payments from crypto users worldwide, 24/7
Fast Settlement
Receive payments instantly with blockchain confirmation
Easy Integration
Get started in minutes with OnchainKit components
Prerequisites
Before you begin, ensure you have the following accounts and tools set up:1
Coinbase Commerce Account
Sign up for Coinbase Commerce to accept cryptocurrency payments globally.
You’ll need this to create products and manage payments.
2
Coinbase Developer Platform Account
Create a CDP account to access OnchainKit APIs and services.
3
Reown (WalletConnect) Account
Set up Reown (formerly WalletConnect) for secure wallet connections across devices and platforms.
Implementation Guide
1
Create Your Product in Coinbase Commerce
First, you’ll create a product in Coinbase Commerce that represents what you’re selling.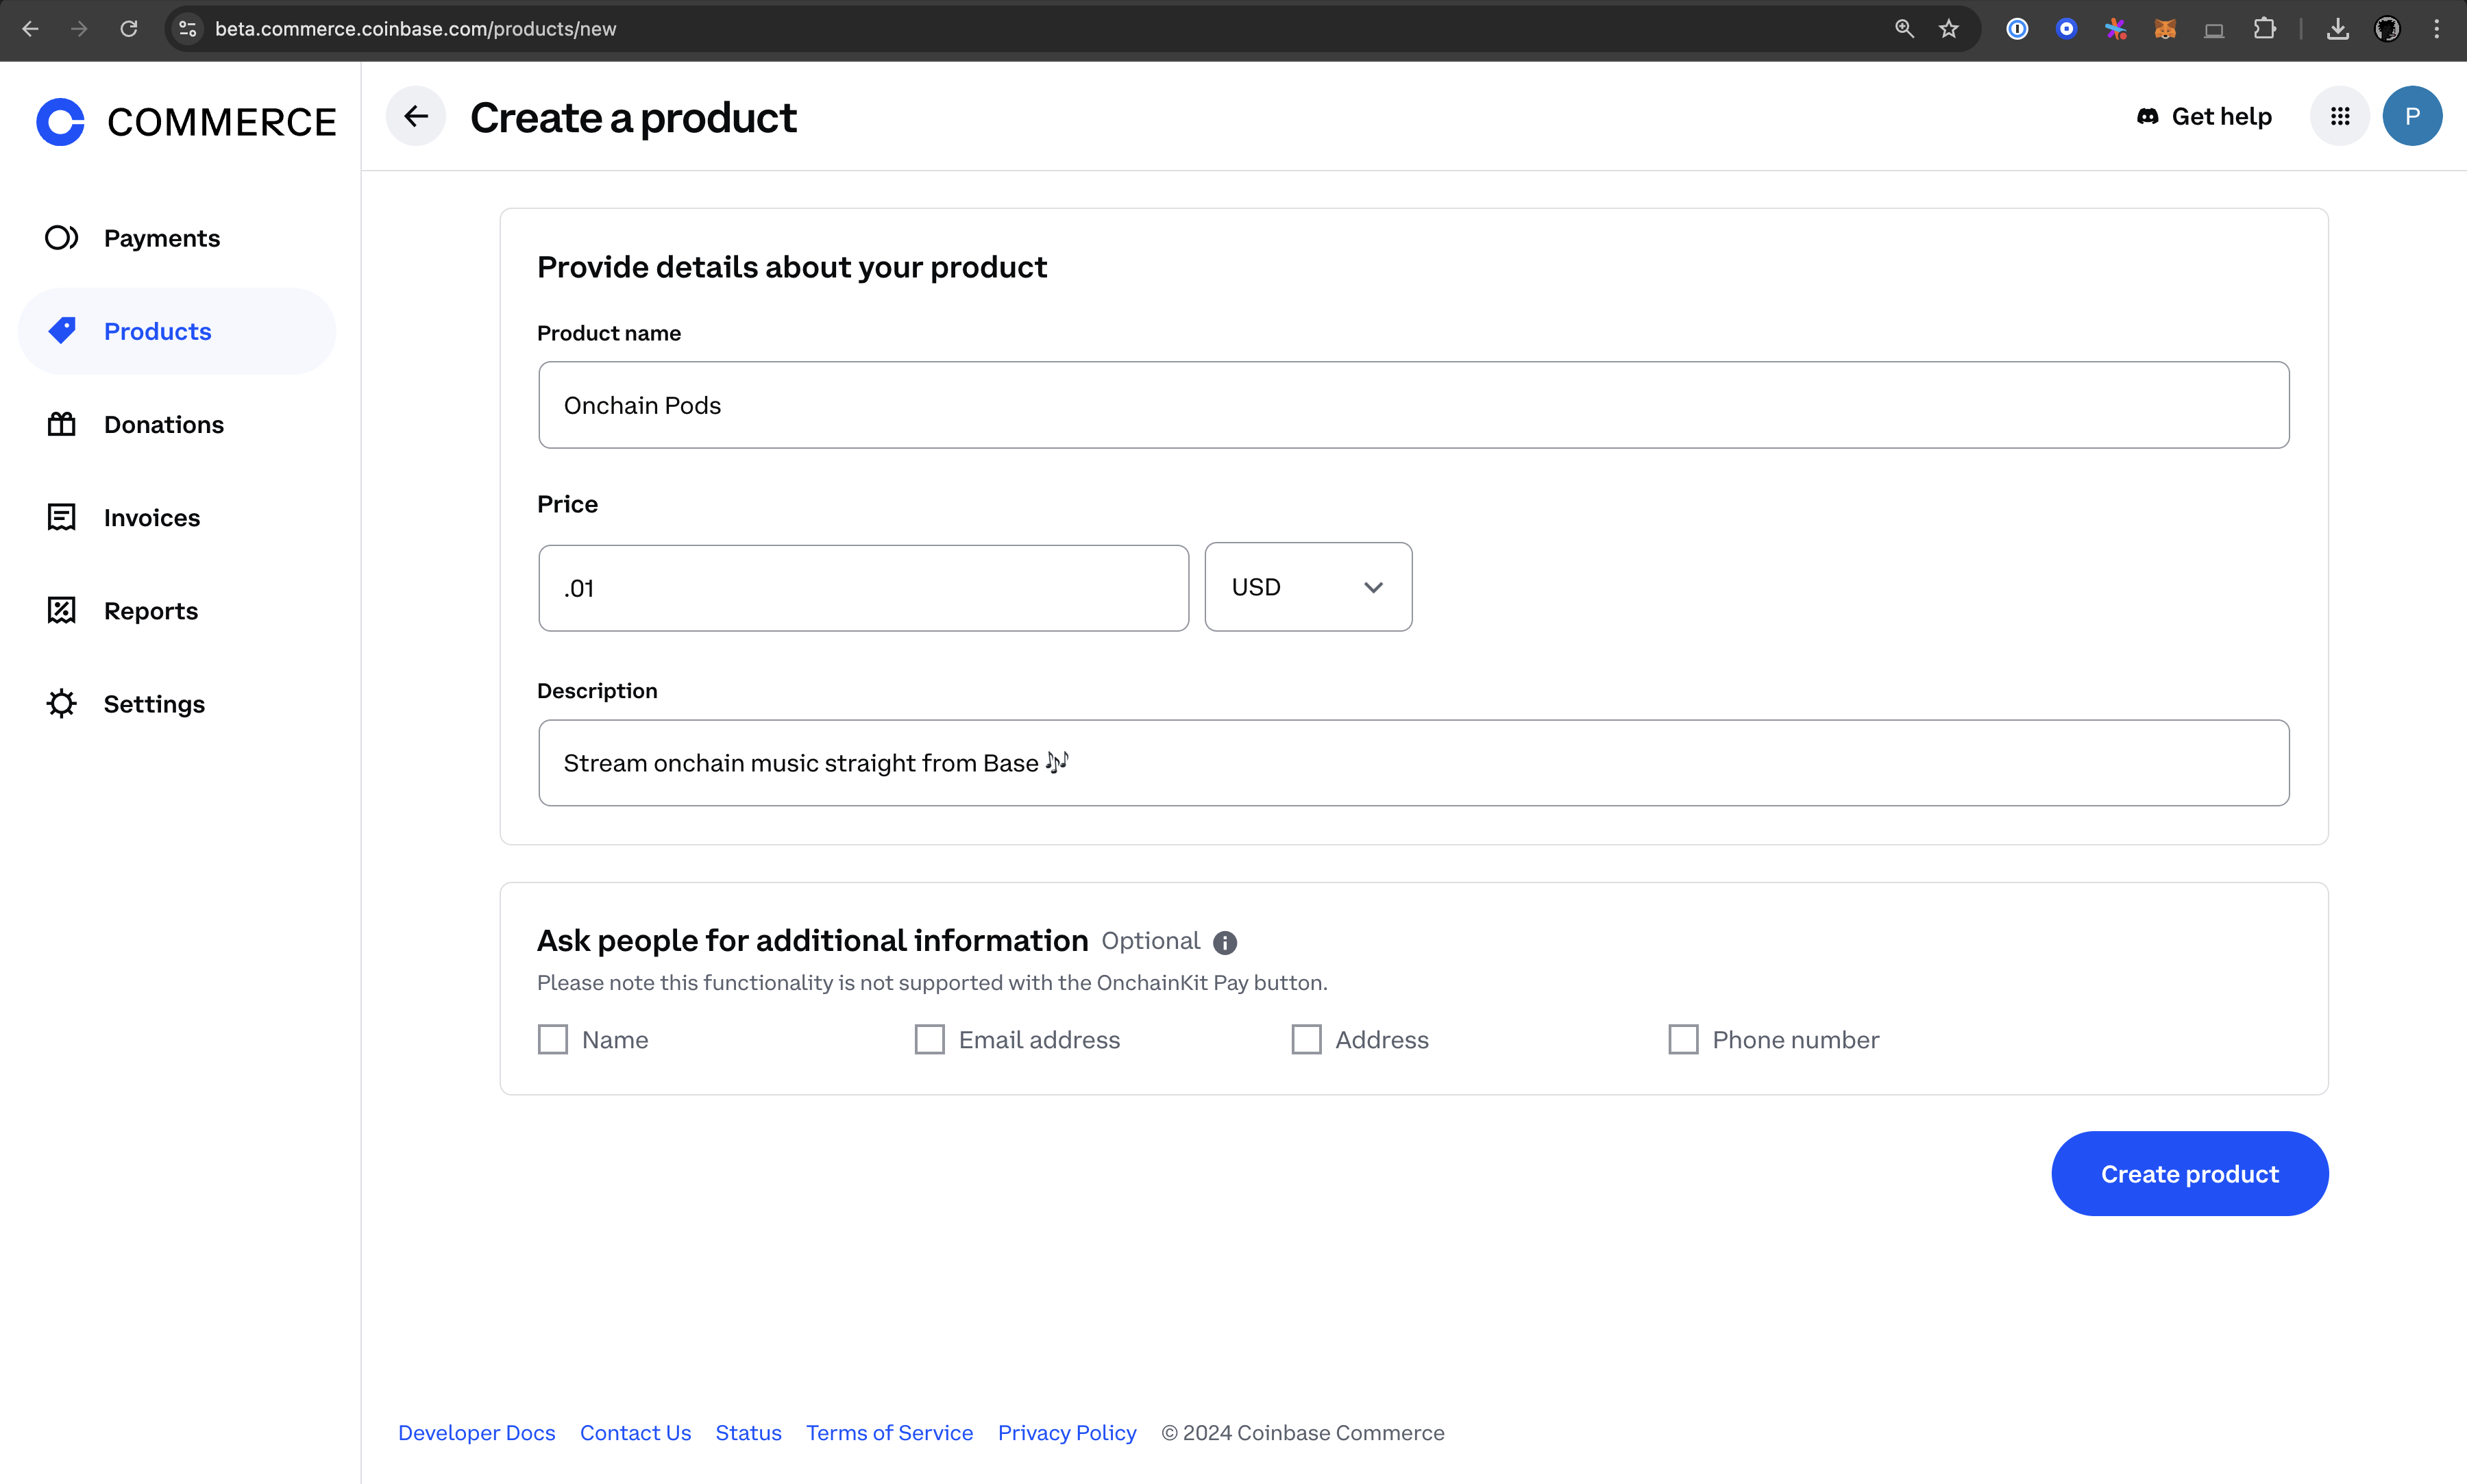
- Log in to your Coinbase Commerce dashboard
- Navigate to the product creation page
- Fill in your product details:
- Product name (clear and descriptive)
- Description (what customers are buying)
- Price (in your preferred currency)
- Click Create product
- Once created, select View product and copy the UUID from the URL
2
Set Up Your Development Environment
Clone the official OnchainKit app template to get started quickly with best practices already configured.
Verify the installation completed successfully by running
ls to see the project files.3
Configure Environment Variables
Create your environment configuration with the required API keys and identifiers.In your project root, create or update your
.env.local file:.env.local
4
Configure Smart Wallet Integration
Set up Wagmi to prioritize smart wallets for better user experience.Update your Wagmi configuration file (typically
src/app/wagmi.ts):src/app/wagmi.ts
This configuration ensures users connect with smart wallets, which provide enhanced security and better UX.
5
Set Up OnchainKit Provider
Configure the OnchainKit provider to connect with Base network and your CDP API key.Update Update your configuration file to handle environment variables properly:
src/app/components/OnchainProviders.tsx:src/app/components/OnchainProviders.tsx
Config.ts
6
Implement the Payment Interface
Create an attractive payment interface that showcases your product and handles the checkout flow.Update your main page (
src/app/page.tsx):src/app/page.tsx
The conditional rendering prevents errors when no wallet is connected, providing a smooth user experience.
7
Test and Deploy Your Application
Test your payment flow locally before deploying to production.Local Testing: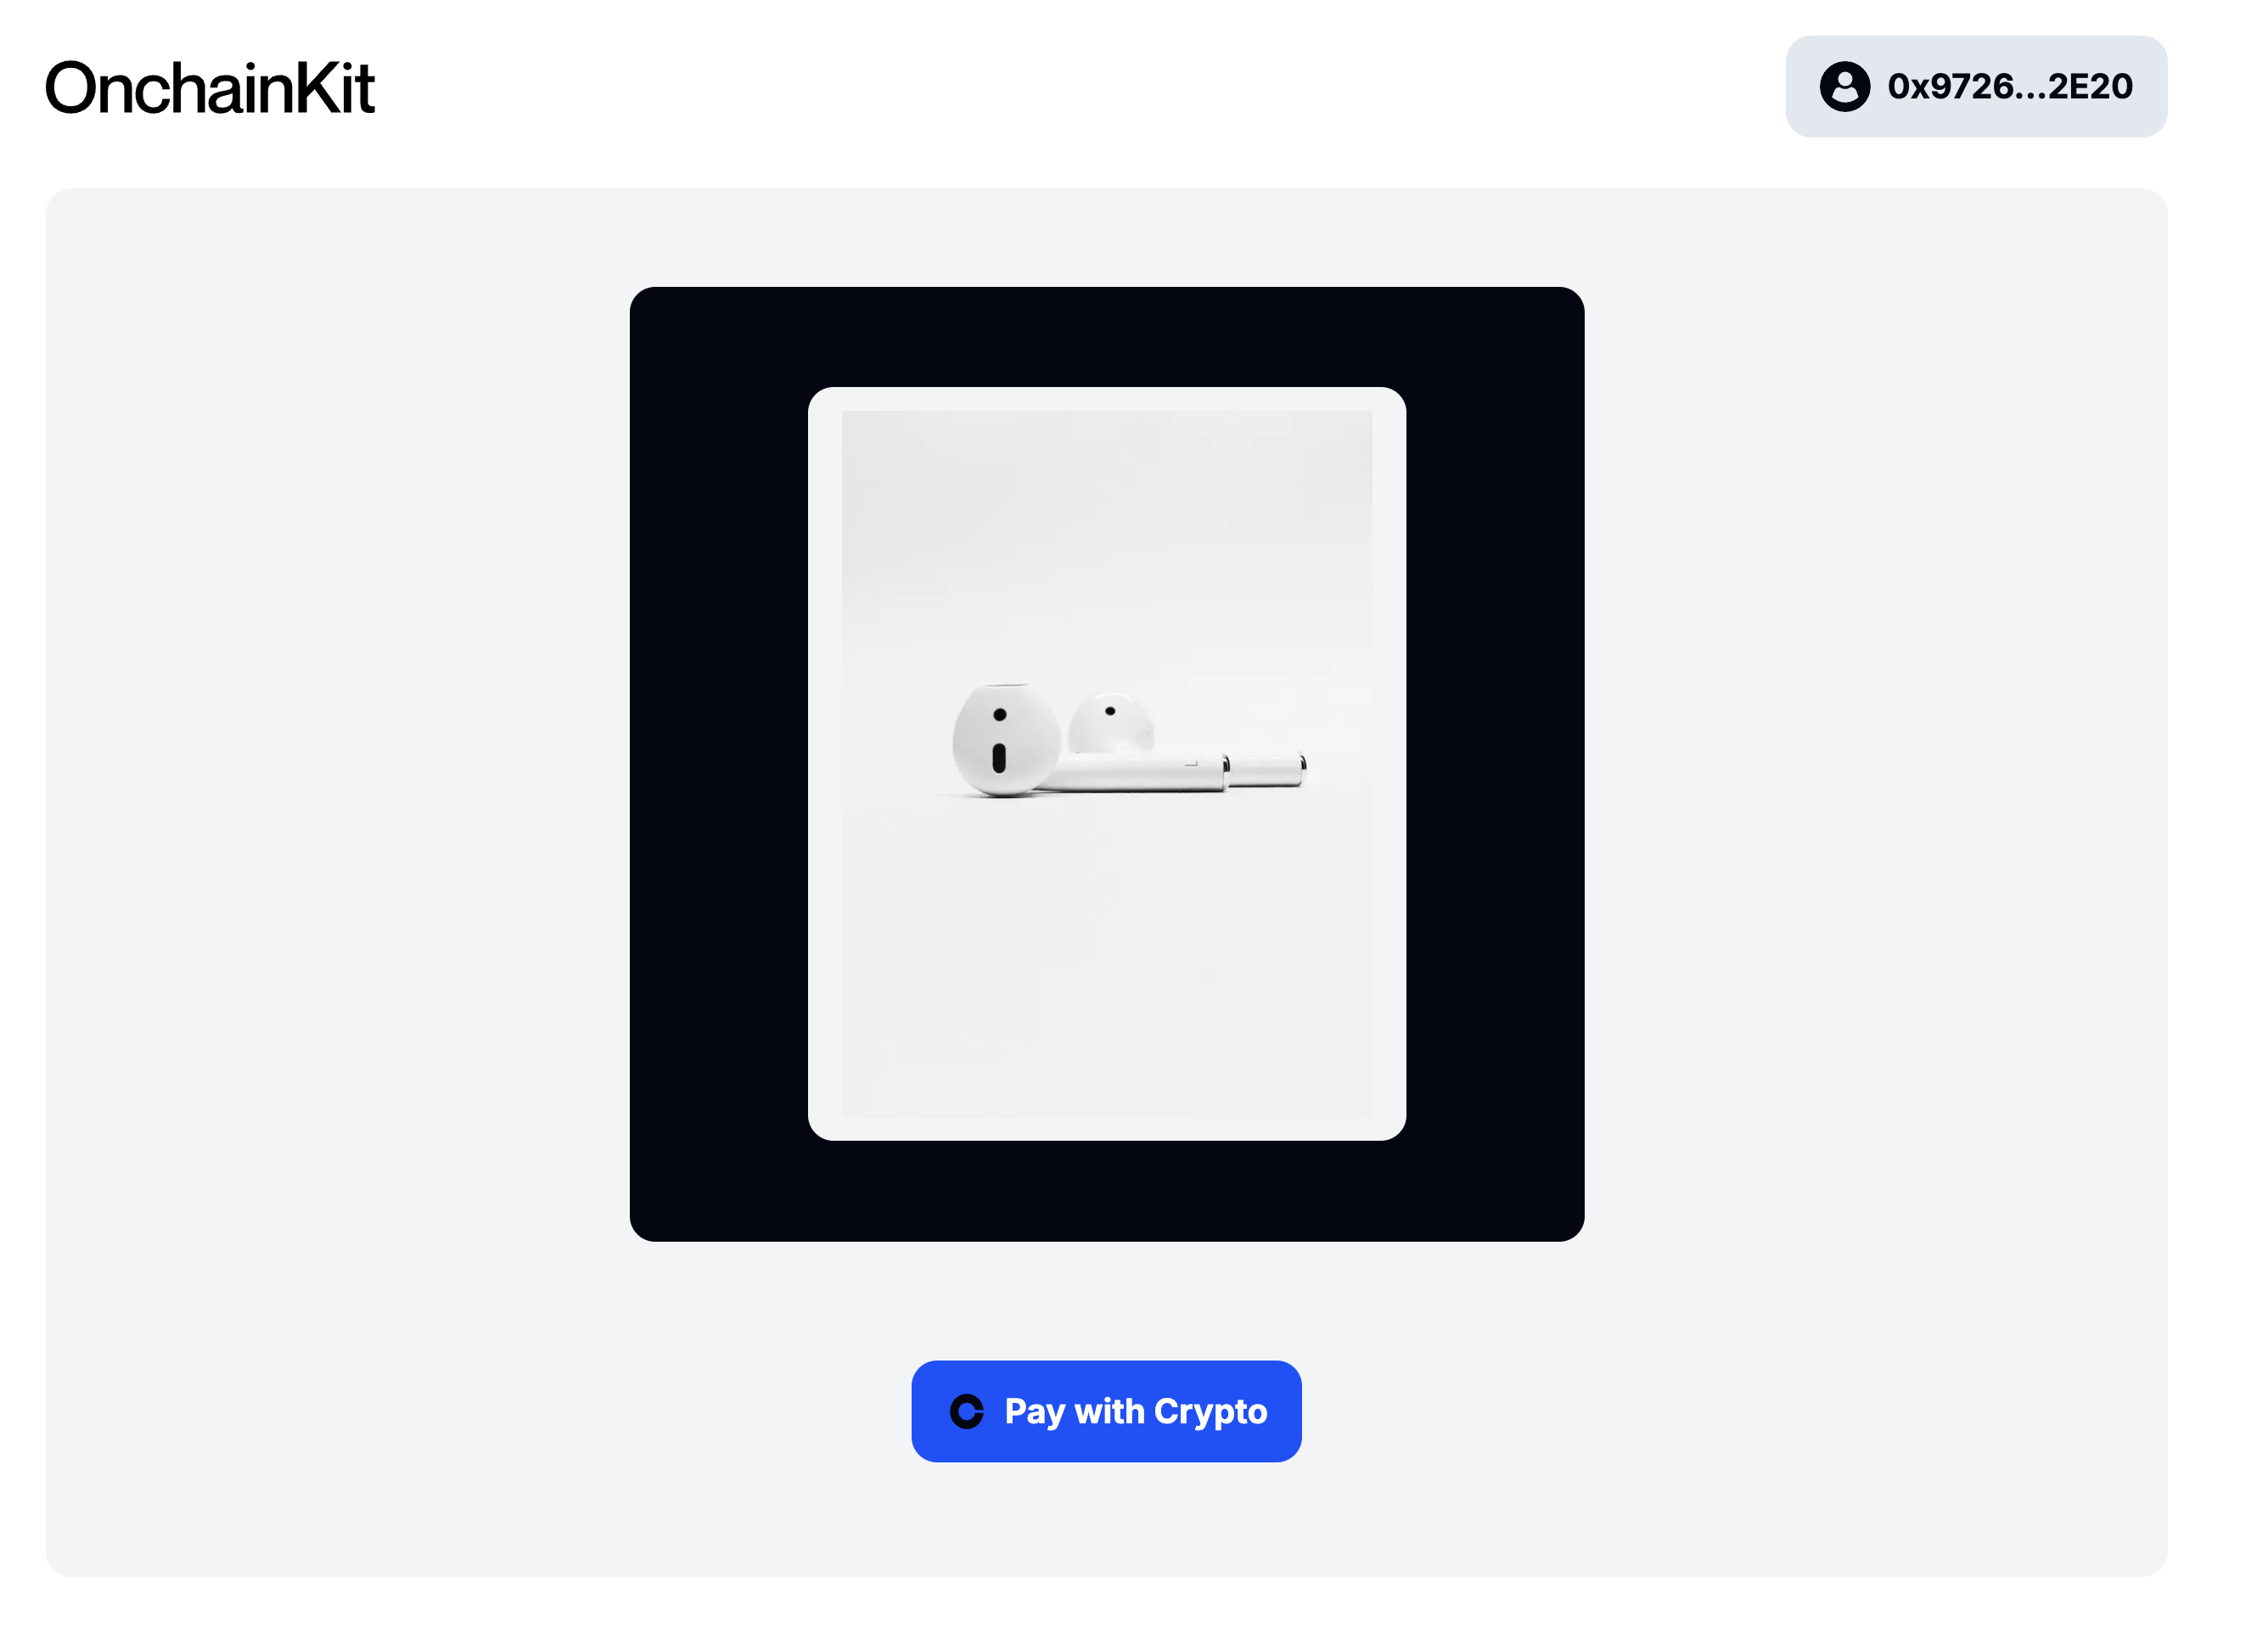 Production Deployment:
- Visit
http://localhost:3000 - Connect your wallet using the wallet connection button
- Test the checkout flow with a small amount
- Verify payment status updates correctly
- Update your configuration with production URLs
- Deploy to your preferred platform (Vercel, Netlify, etc.)
- Test the live application with real transactions
- Monitor payment confirmations in your Coinbase Commerce dashboard
Troubleshooting
Wallet connection issues
Wallet connection issues
Common solutions:
- Ensure your WalletConnect project ID is correctly configured
- Check that your wallet extension is updated to the latest version
- Try connecting with a different wallet provider
- Clear your browser cache and cookies
Payment not processing
Payment not processing
Check these items:
- Verify your product ID matches exactly with Coinbase Commerce
- Ensure your CDP API key has the necessary permissions
- Confirm the user has sufficient funds for the transaction
- Check network connectivity and blockchain status
Environment variable errors
Environment variable errors
Configuration checklist:
- All required environment variables are set in
.env.local - No extra spaces or quotes around variable values
- File is in the project root directory
- Restart your development server after making changes
Next Steps
Now that you have crypto payments working, consider these enhancements:Add Multiple Products
Scale your setup to handle multiple products and services
Implement Webhooks
Set up payment confirmation webhooks for automated processing
Analytics Dashboard
Track payment metrics and customer behavior
Multi-chain Support
Accept payments on multiple blockchain networks
Conclusion
Congratulations! You’ve successfully integrated Coinbase Commerce and OnchainKit into your application. Your users can now make crypto payments, giving you access to: ✅ Zero traditional payment fees and chargebacks✅ Global customer reach with 24/7 payment processing
✅ Instant settlement with blockchain confirmation
✅ Enhanced security through smart wallet integration Ready to scale? Consider expanding to multiple products, implementing automated fulfillment, or adding analytics to track your crypto payment performance.
Your application now supports the future of global payments. Happy building on Base!