

Objectives
By the end of this tutorial, you should be able to:- Deploy a smart contract using Foundry
- Interact with the Basescan API to verify your deployed contract
- Obtain and configure a (free) Base RPC Node from Coinbase Developer Platform (CDP)
Prerequisites
Familiarity with smart contract development and the Solidity programming language Solidity is the primary programming language for writing smart contracts on Ethereum and Ethereum-compatible blockchains like Base. You should be comfortable with writing, compiling, and deploying basic smart contracts using Solidity. If not, check out Base Learn. Basic understanding of Foundry for Ethereum development Foundry is a fast and portable toolkit for Ethereum application development. It simplifies the process of deploying, testing, and interacting with smart contracts. This tutorial assumes you have experience using Foundry to compile and deploy smart contracts. Access to a Coinbase Developer Platform (CDP) account The Coinbase Developer Platform provides access to tools and services necessary for blockchain development, including RPC nodes for different networks. You’ll need to sign up for a CDP account to obtain a Base RPC Node, which will be essential for deploying and interacting with your smart contracts on the Base blockchain. Node + Basic API requestsJump Right In
For this tutorial, you will deploy a simple contract that is included in the Foundry quickstart. To do so, ensure that you have Foundry installed. If you don’t have Foundry install it:src folder will contain a Counter.sol file which will serve as the contract you want to deploy.
You (the deployer wallet) will need some ETH in order to broadcast the transaction to the Base network. Fortunately, transactions are usually < 1 cent on Base mainnet.If using a [Coinbase Wallet] use the “Buy” button to onramp crypto from your Coinbase account.
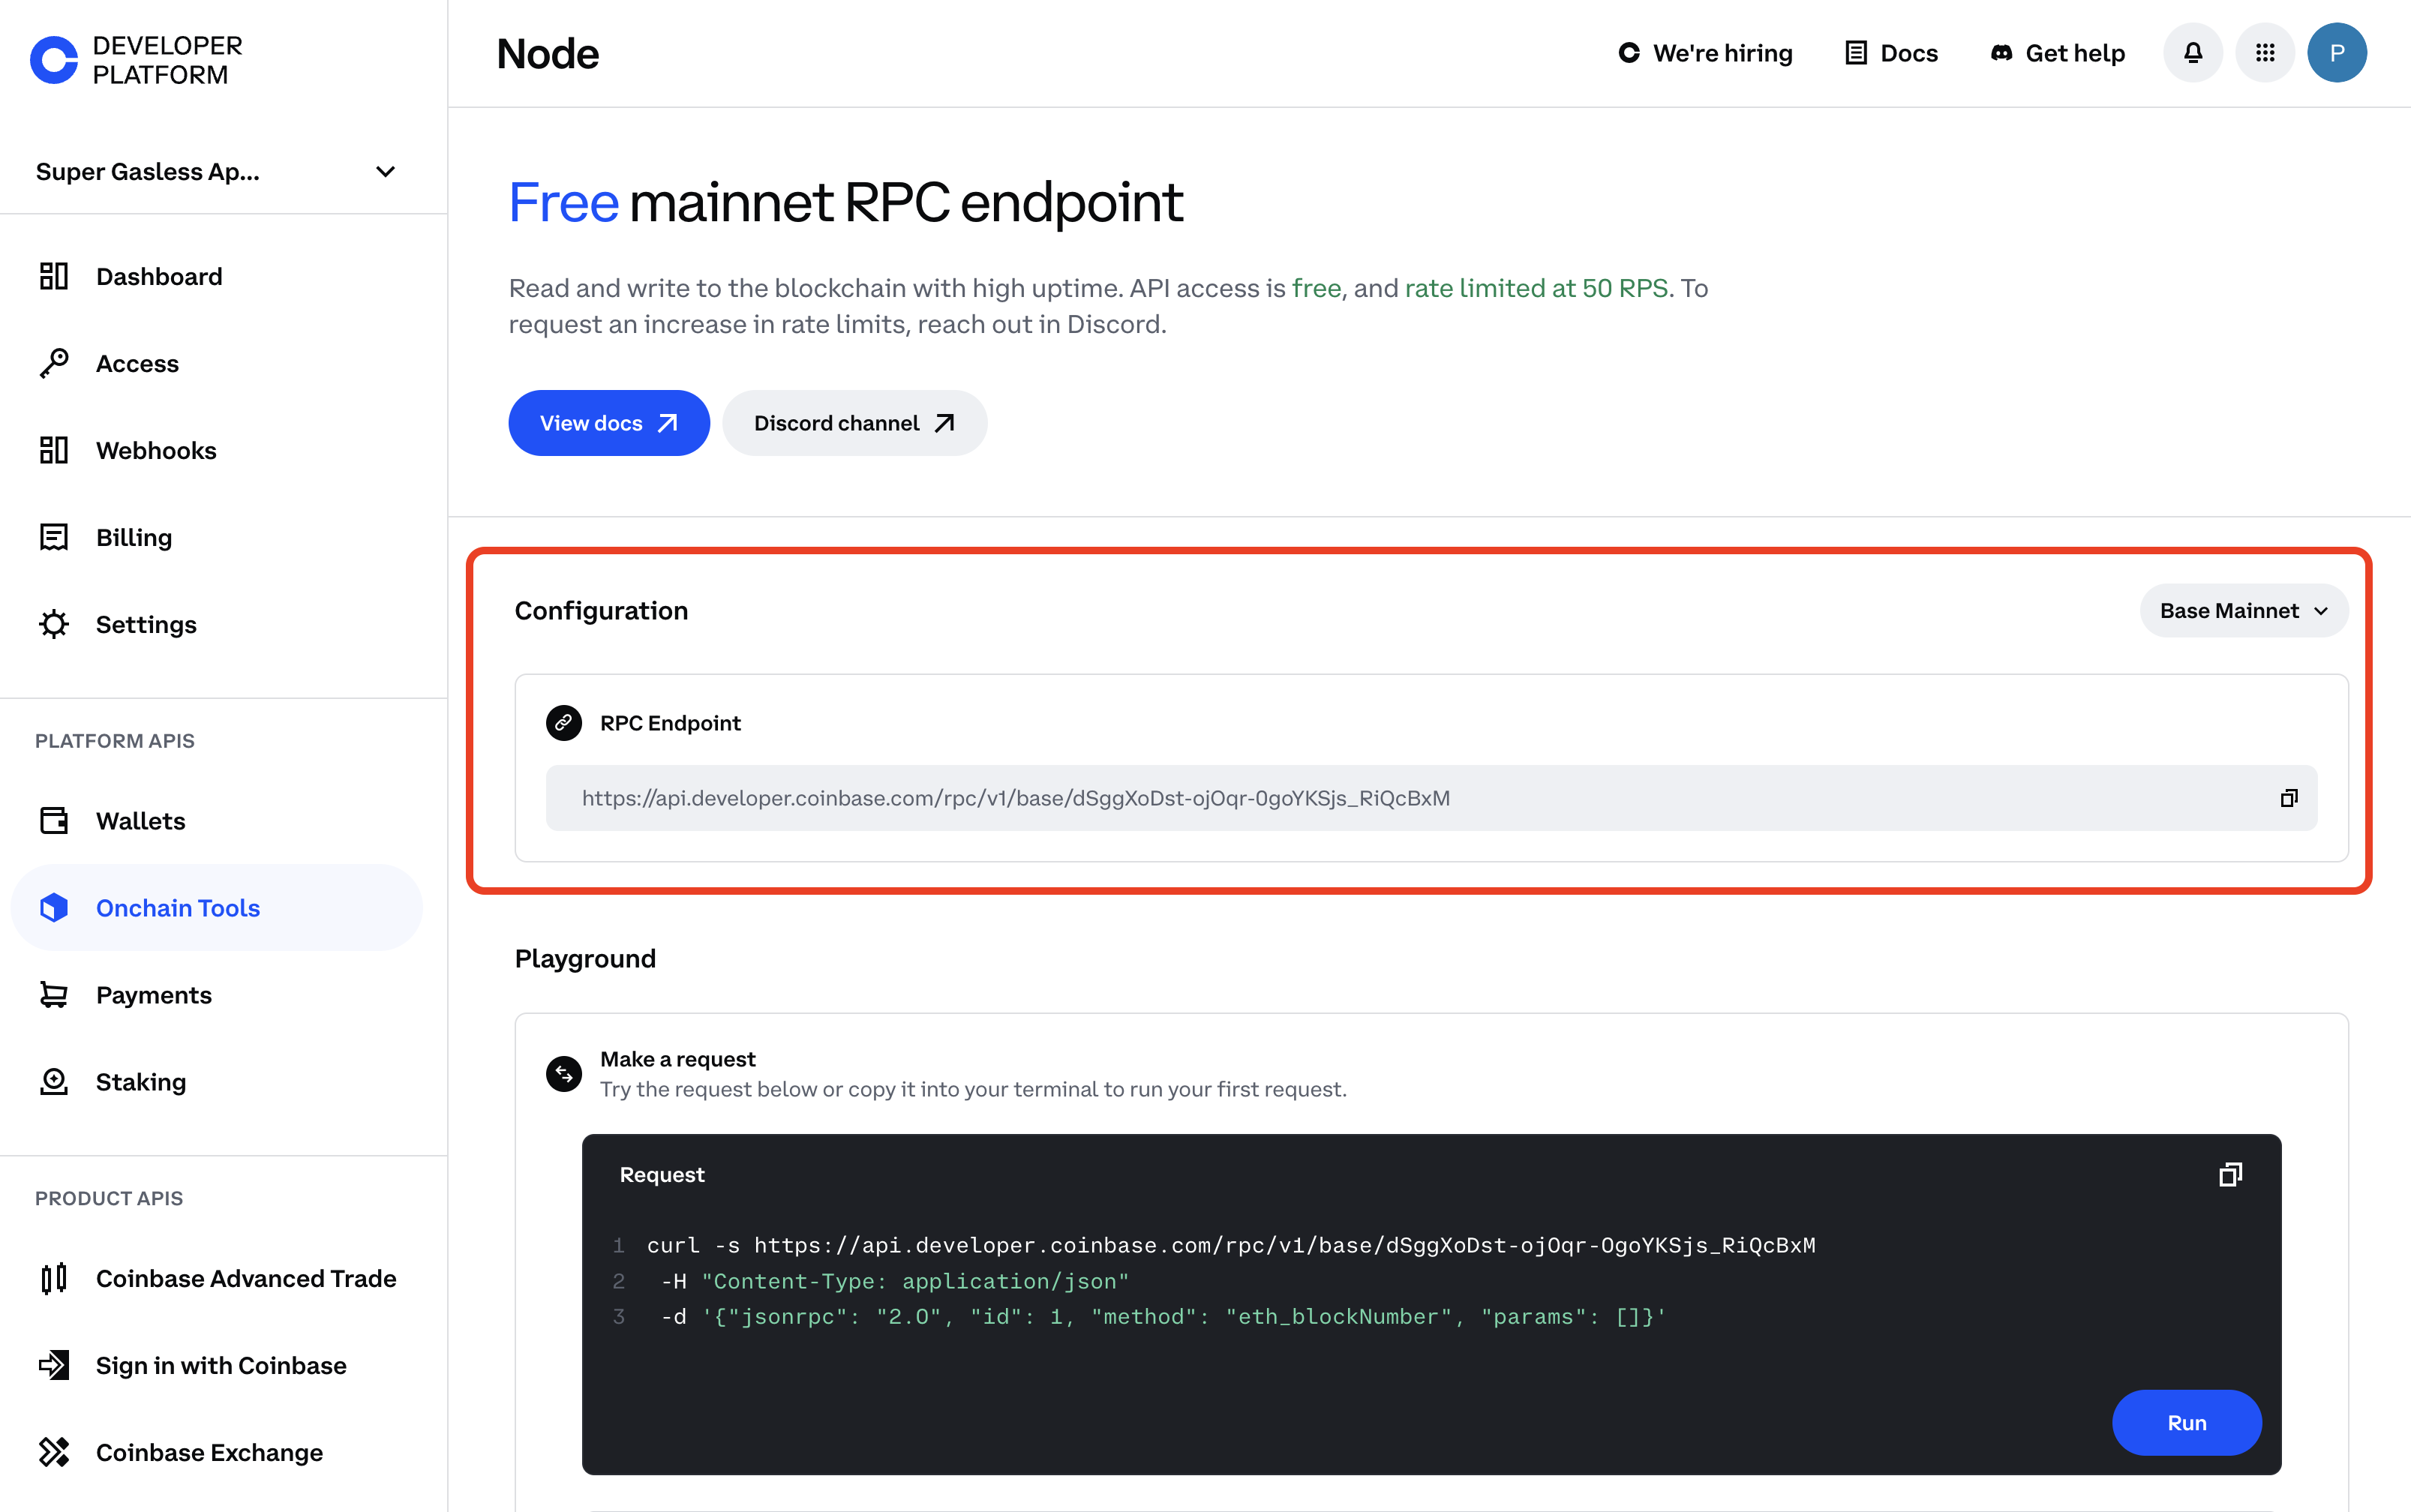 Then store it as an environment variable in your terminal:
Counter.sol contract using forge create --rpc-url $BASE_RPC_URL --private-key $PRIVATE_KEY src/Counter.sol:Counter
Once deployed, it should return something like this:
⠊ Compiling...
Deployed to: 0xEF5fe818Cb814E5c8277C5F12B57106B4EC3DdaA). Copy this address as you will need it in the next step.
Verify the contract
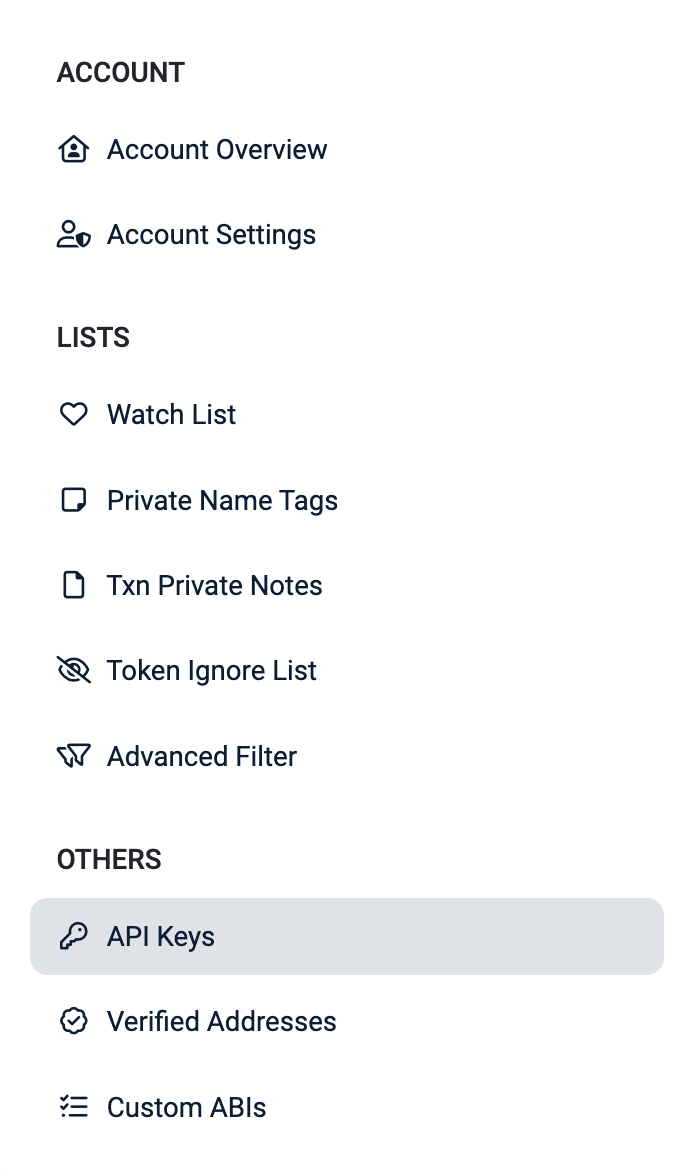
You will now interact with the Basescan API. For this, you need API Keys. Create an account using an email or login to Basescan. After signing in, navigate to your Basescan account then selectAPI Keys on the left navigation bar.
 From the API Key page, click the blue “Add” button to create a new API Key then copy your
 API Key Token
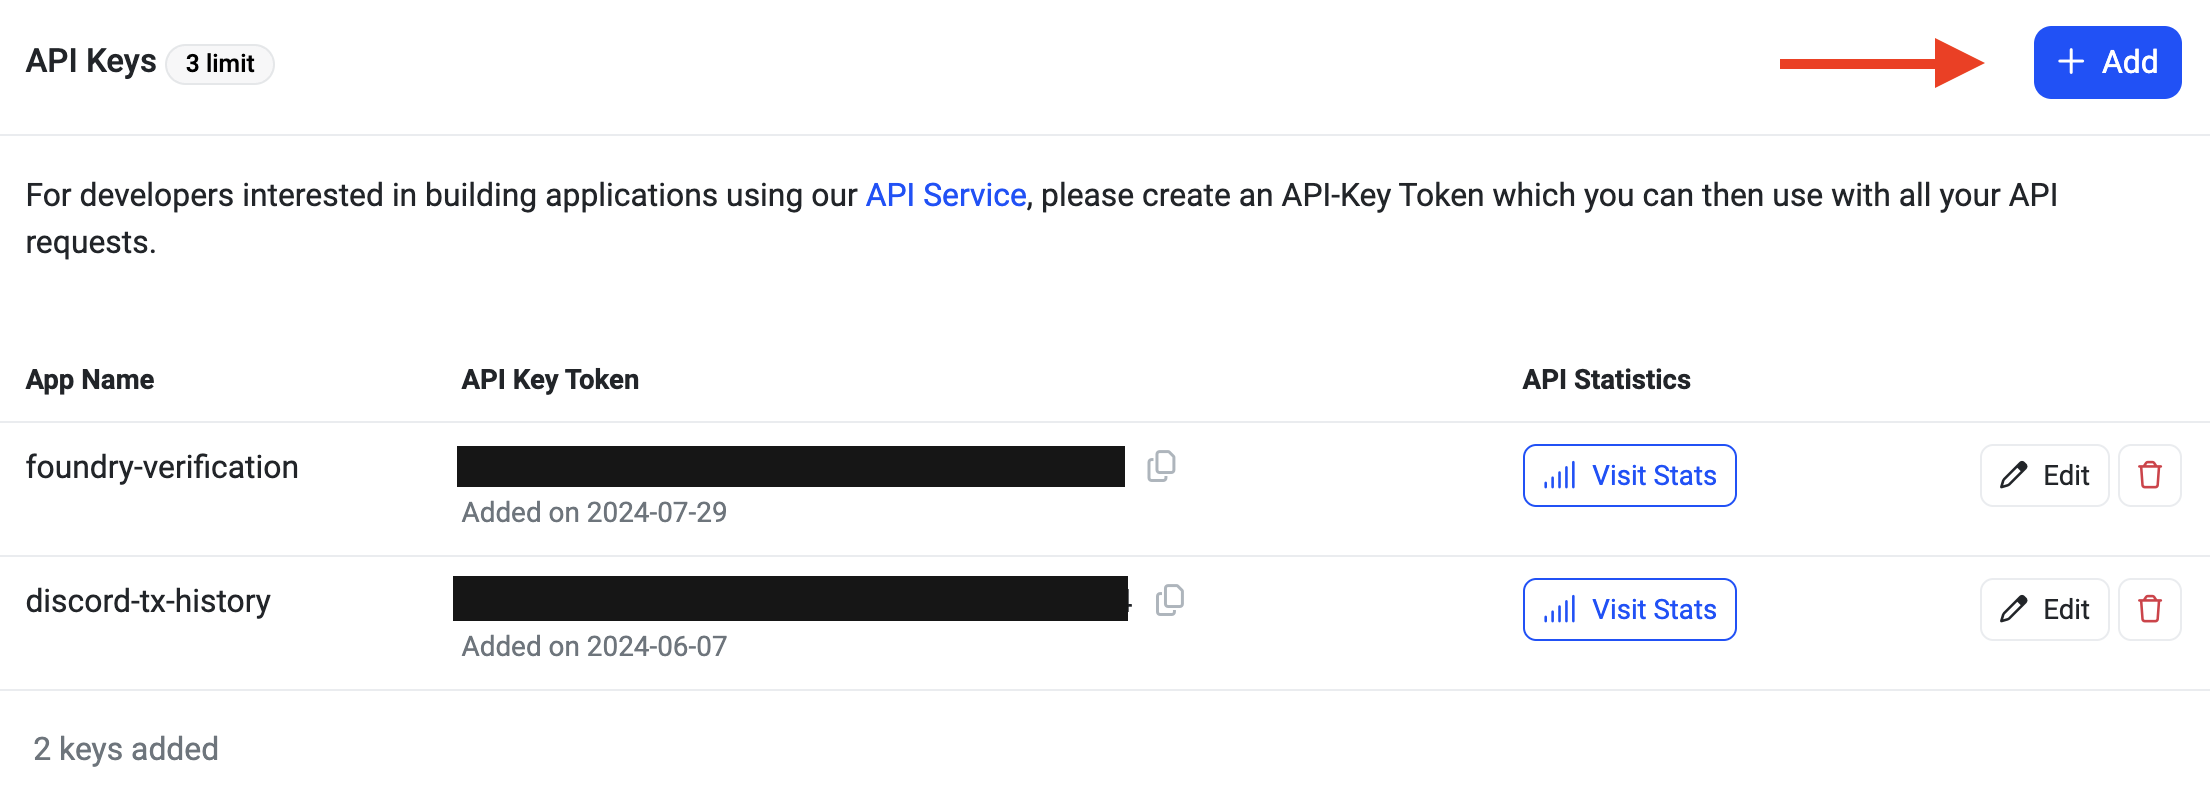 Save this to your clipboard for the next step.
Create a
Save this to your clipboard for the next step.
Create a .js file to create a function to that will call the Basescan’s contract verification endpoint.
In your terminal create a new file: touch verifyContractBasescan.js then open this file in your IDE of choice.
At the top of the file create a variable that contains the Counter.sol that was created from your foundry project.
async function to call the basescan api. Basescan offers a few endpoints to interact with their api with the base url being: https://api.basescan.org/api
To verify a contract you will use the verifysourcecode route, with the contract module, and your apiKey as query parameters.
Putting everything together, our function will look like this:
try-catch block to send the request and log any errors to the console.
Your final file should look something like this:
node verifyContractBasescan.js in your terminal
If successful, your terminal will output JSON text with three properties status, message and result like below:
result field