

1
Install Next.js
Create a new Next.js project by using the Next.js CLI.
More information about Next.js can be found here.During the setup process you will encounter multiple prompts.
Make sure you enable TypeScript, ESLint, and Tailwind CSS.
npm
2
Install OnchainKit
Install OnchainKit in your project.
3
Get Your Client API Key
Get your Client API Key from Coinbase Developer Platform.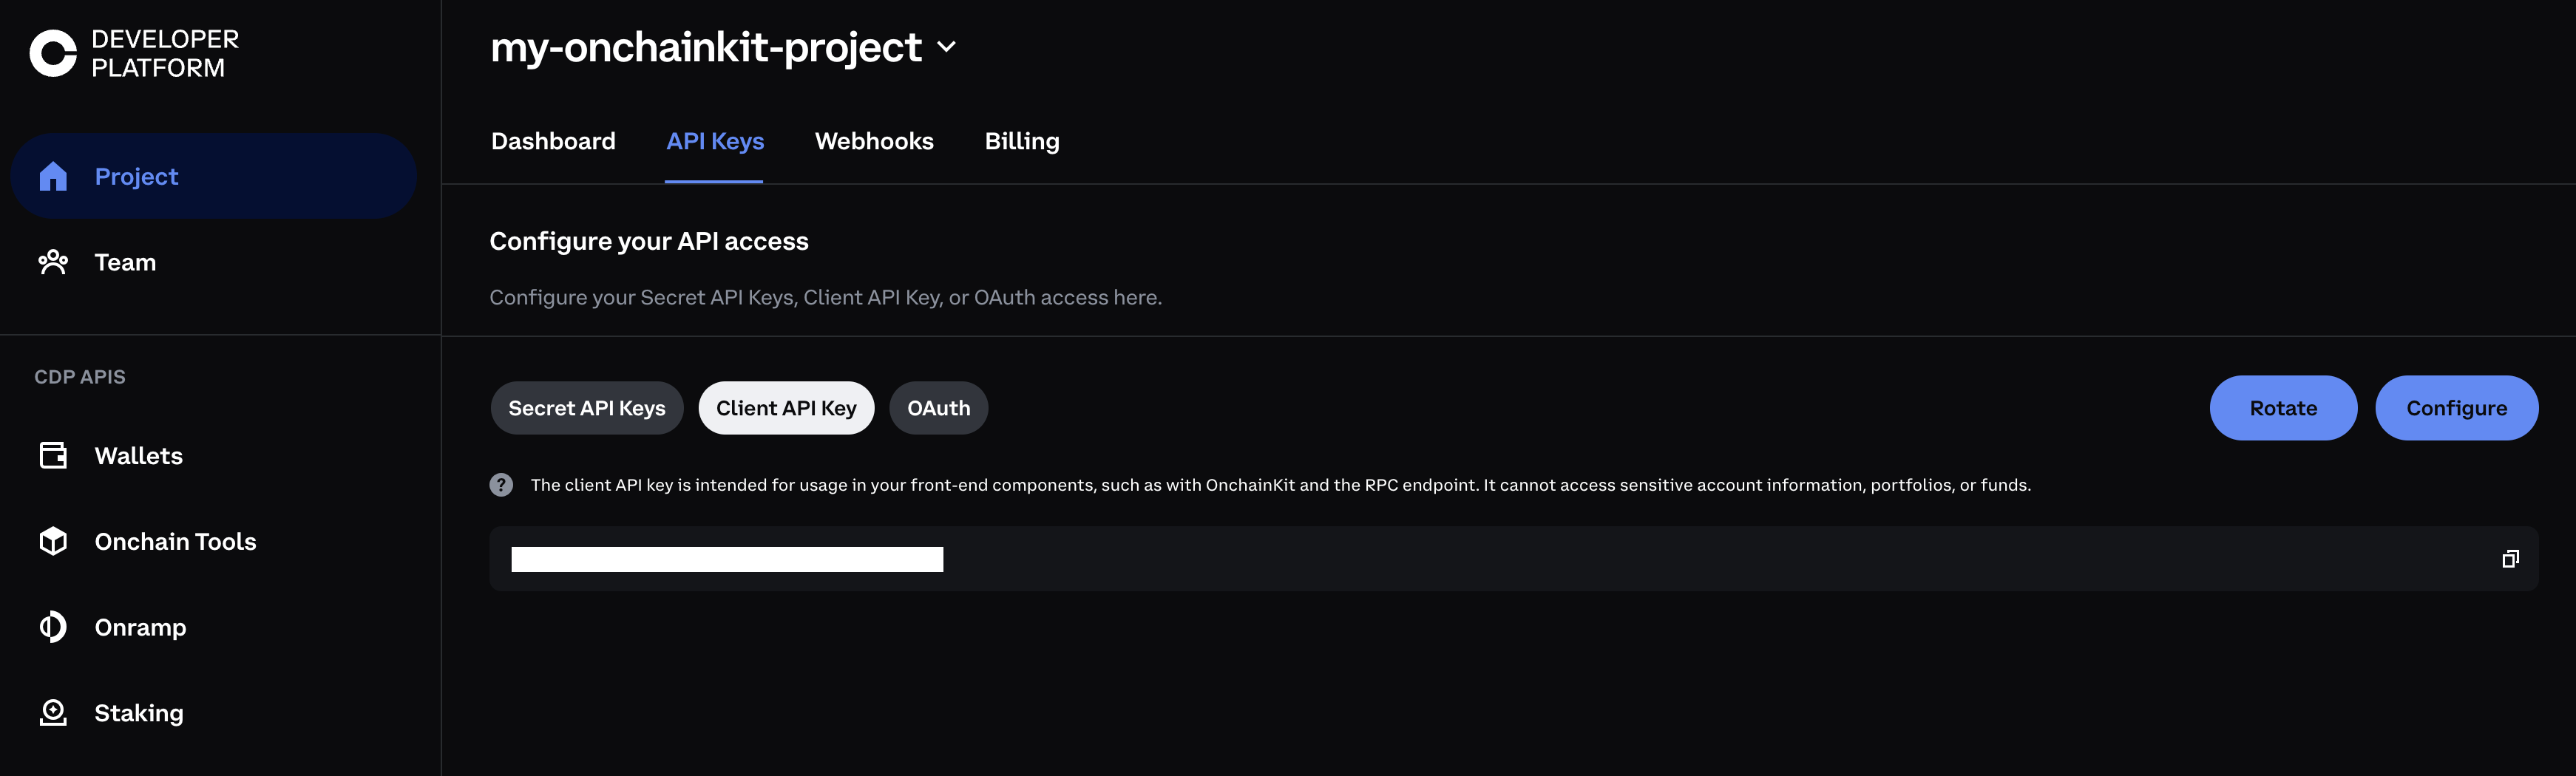 Create a
 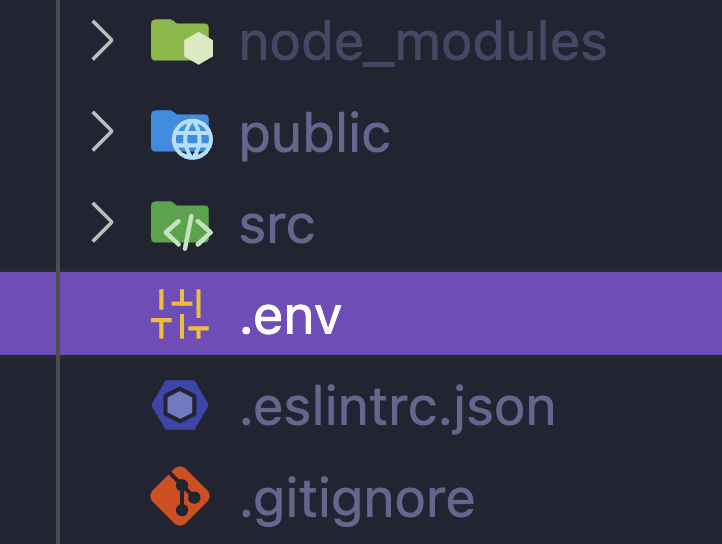 Add your Client API Key to the
.env file in your project’s root directory..env file:.env
4
Add Providers
Create a
providers.tsx file. Add OnchainKitProvider with your desired config.Under the hood, OnchainKit will create our recommended Wagmi and QueryClient
providers. If you wish to customize these providers, check out Custom
Supplemental Providers.providers.tsx
5
Wrap your app with <Providers />
After the setup, wrap your app with the above
<Providers /> component.app.tsx
6
Add Styles
OnchainKit components come with pre-configured styles. To include these styles in your project, add the following import statement at the top of this file:For example, if you’re using Next.js with the app router, your This ensures that the OnchainKit styles are loaded and applied to your entire application.
app/layout.tsx might look like this:layout.tsx
- For Tailwind CSS users, check out our Tailwind Integration Guide.
- Update the appearance of components by using our built-in themes or crafting your own custom theme. Explore the possibilities in our Theming Guide.
Start building!
Explore our ready-to-use onchain components:Identity– Show Basenames, avatars, badges, and addresses.Wallet– Create or connect wallets with Connect Wallet.Transaction– Handle transactions using EOAs or Smart Wallets.Checkout– Integrate USDC checkout flows with ease.Fund– Create a funding flow to onboard users.Tokens– Search and display tokens with various components.Swap– Enable token swaps in your app.Mint– View and Mint NFTs in your app.