

<FundButton /> component provides a way for users to fund their wallet without leaving your app. It automatically
detects the user’s wallet type (EOA vs Smart Wallet) and directs them to the appropriate funding URL.
If your user connects a Coinbase Smart Wallet, it provides an easy way to access the Coinbase Smart Wallet
Fund flow. Users will be able to buy and receive crypto, or use their Coinbase
balances onchain with Magic Spend.
If your user connects any other EOA wallet, it provides an easy way to access Coinbase Onramp
where your users will also be able to buy crypto using a fiat payment method, or transfer existing crypto from their
Coinbase account.
Before using it, ensure you’ve completed all Getting Started steps.
Walkthrough
1
Get your Project ID
- Get your Project ID from the Coinbase Developer Platform Dashboard.
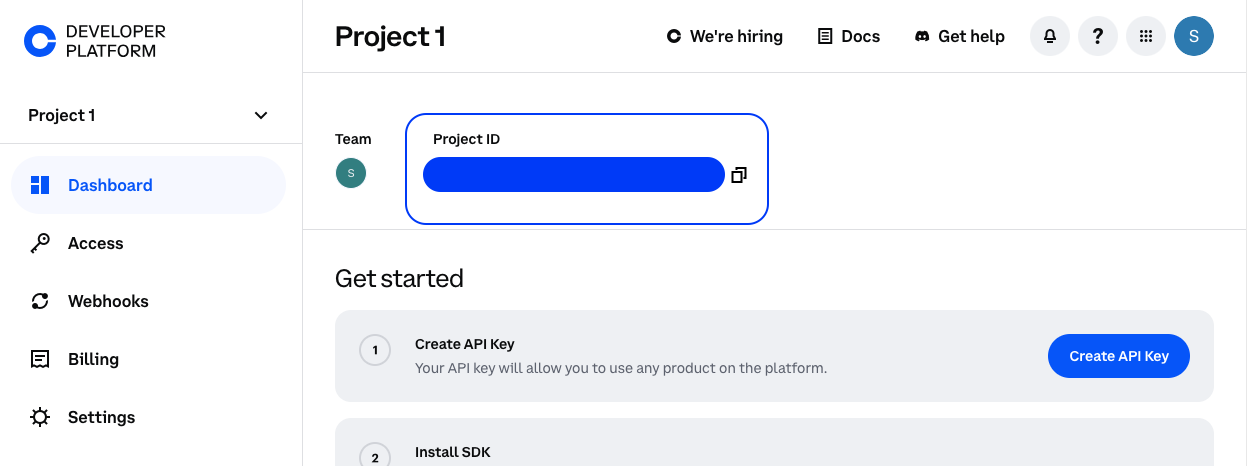
- Add your Project ID to your
.envfile.
.env
2
Add Project ID to OnchainKitProvider
3
Drop in the<FundButton /> component
TroubleshootingIf you see a “something went wrong” error message when navigating to pay.coinbase.com, make sure you have “enforce
secure initialization” disabled on the Onramp config page in Coinbase Developer Platform Dashboard.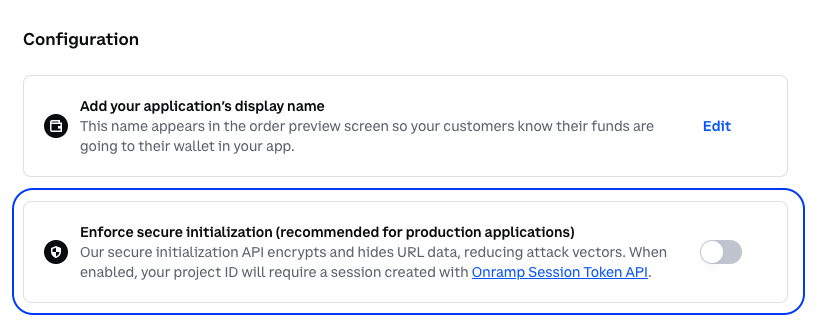
Customizing the funding experience
You can customize the Coinbase Onramp experience by bringing your own Onramp URL and passing it to the<FundButton />
component. We provide the getOnrampBuyUrl utility to help you generate a Coinbase Onramp
URL tailored to your use case.
You can choose to have the funding URL open in a popup or a new tab using the
openIn prop.
Customizing the fund button
You can override the text on the fund button using thetext prop, and hide the icon with the hideIcon prop.
You can hide the text with the
hideText prop.
See
FundButtonReact for the full list of customization options.